Weddings: Diamonds, Pink, and other Girly Things II

Yesterday, we showed you guys some of the highlights of a recent wedding Chef’s catered at Noah Liff Opera Center with a very glamourous vibe (check it out here). So, today I’ve got the rest of the pictures here for you, from centerpieces to entrees. Hope you find some inspiration and ideas to visualize your own reception.

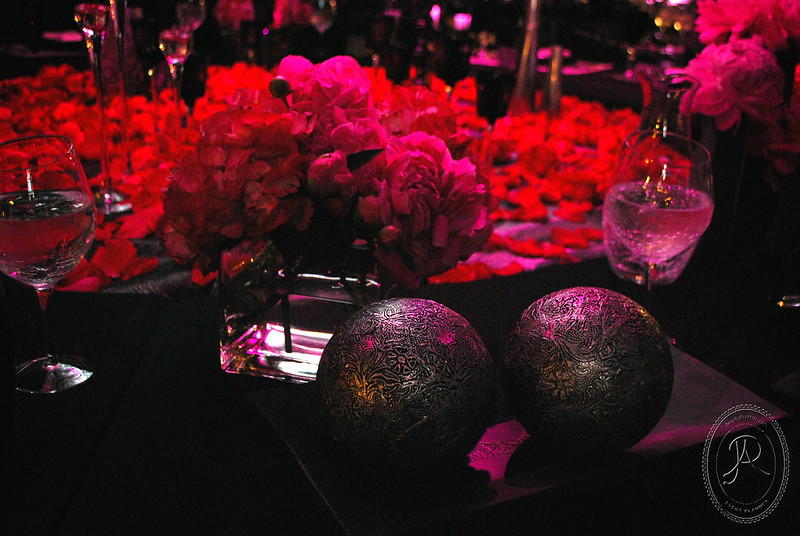
The Head Table

THE GUESTS’ TABLE SETTINGS

The Main Dish

Served buffet style, they had a mashed potato bar (both sweet potatoes and garlic mashed potatoes) with a smorgasbord of toppings. For the entree, they served beef braised short ribs and had pork tenderloin carving station. The mouth watering Apple Jack Salad was served in martini glasses and wild rice orzo also served as another side. Delish.

Apple Jack Salad with Balsamic vinaigrette, roasted pecans, blue cheese, and a green apple slice

Homemade bread served at every table

Bread rolls for the pork tenderloin and wild rice orzo in the background.

Mashed potato bar toppings

Dessert Station

Wedding cakes are something we rarely do, but for this occasion, the glorious Sonya pulled together a petite wedding cake made with our  infamous Strawberry cake and cream cheese icing. In addition to the smaller wedding cake, she also had a chocolate fondue, pecan tassies,  german chocolate, hummingbird, and strawberry cupcakes, cheesecake lollipops, and cookies and milk shooters. Yum!

They also had an old school espresso machine to compliment the dessert

Cookies and Milk Shooters

Cheesecake Lollipops

Pecan Tassies

German Chocolate Cupcakes

Weddings: Diamonds, Pink, and Other Girly Things

A few weekends ago, I had the pleasure to go check out one of the receptions we were catering at the Noah Liff Opera Center in Nashville. It was a very beautiful wedding, filled with many elaborate details for the event’s execution. For this reason, upon arrival, I was thrown a mop and given a job to do. So, mop in one hand, camera in the other, I sopped up the water vases’ dripping remnants as the rest of the staff hurried to set them on the tables, as well as getting all of the food out and cleaning up the room. As I glanced over to see the event planner frantically crawling on top of the grandly large head table in the center of the room to light dozens of tea lights, I knew we were behind schedule. But what’s a catering without a little drama? Though we may sometimes act like the chaos can be the end of the world, I really think it’s what we thrive on, and maybe even perform our best during it.
And as always, it came together beautifully, and the bride was thrilled with everything, which makes it all worth it!
While the reception was only for 200 people, they treated their guests to quite the spread, as seen below.

Cocktail Hour

Before the guests entered the main dining area, they experienced a cocktail hour with hors d’eouvres and live music in the adjoining room.

One of the many plush seating areas situated throughout the room for the guests to lounge on

More seating areas

The guests picked up their place card off this hanging spiraled wire.

Roses and mirrors galore!

Center table for appetizers

Tomato, Mozzarelle, and Basil skewers

Chicken Tender Cones encrusted with cheese breadcrumbs and with cheese straws in the bottom

Mini Jam Filled Cornbread Muffins

Passed coconut shrimp

Passed Fried Green Tomatoes

Photoshop Tutorial: Subtle Embossed Watermark

If there’s one thing that annoys me when looking at other’s photographs is a large, obnoxious watermark that completely distracts from the photo itself. So how do you create a subtle watermark that still gives credit to the photo’s owner, while still remaining tasteful.
So, I’ve made a tutorial to give a step-by-step guide on how to create a transparent, embossed watermark.

END RESULT:

Before beginning this tutorial, make sure the logo you are using is saved as a file on your computer.

It will be much easier to do if the image if two-toned with a solid background.

1. Open Photoshop

2. Open logo:

File > Open > (Find logo image) > Open

3. Create transparent canvas:

File > New > (Set Dimensions to approximately 3×3 in [feel free to change this if your desired logo size is different]  with no more than 300 px and transparent background content)

Now you have both your logo and transparent canvas open.

 4.  If your image is not already desaturated, go ahead and do so

Image > Adjustments > Desaturate (Shortcut = Win: Shift  + Ctrl + U Mac: Shift + Command + U)

5. Now we’re going to select just the logo without the background to paste onto the transparent canvas.

(There are many ways to do this and, depending upon your logo, there may be a better way to do it than the way I have used.)

  •  For this logo, I went to Select > Color Range…
    & selected the solid background of your logo with the color dropper
    (I selected the background first,  but if your image has less dimension to it, you can probably skip a step, select the black, and be okay.)
  • Then press OK.

6.  Inverse the selection

Select > Inverse

7.  Paste logo on transparent canvas

  • Copy Selection of the logo (Ctrl + C (Win) or Command + C (Mac))
  • Click on transparent canvas > Paste (Ctrl + V (win) or Command + V (Mac))

8. (Optional) If after you paste, your image is too big for your canvas, resize appropriately to fit the canvas

  • Select ‘All’ (Ctrl + A or Cmd + A)
  • Transform Selection (Ctrl + T or Cmd + T)
  • Resize appropriately to fit canvas
  • Press the checkmark when finished

9. Emboss logo

Filter > Emboss > (I used the settings: Angle-135, Height- 9 px, Amount – 105%, but change them to best suite your image) > OK

It should look like this

10. Flatten the Image

Layer > flatten image ( or Cmd + Shift + E)

11. Save the image for later use as .psd file

12. Copy the watermark logo > (Ctrl+A or Cmd+A) > (Ctrl+C or Cmd+C)

13. Next, open whatever image(s) you wish to add the watermark to

14.  Paste the watermark on your photo (Ctrl+V or Cmd+V)

15. If the watermark is bigger than you would like, resize accordingly

16. Move the watermark where ever on the image you want it to be permanently. I like the bottom right corner.

Press the move tool (or hold down cmd while you move the layer with your mouse or press the ‘V’ key before you move the logo)

17. Next, while working on your watermark layer, change the blending mode to ‘Hard Light’

Your image should look like this:

Merge all layers, save, and finish!
There you have it: A subtle, embossed watermark for your photos!

If you have any questions or want to see more posts like this, feel free to comment.
Hope it was helpful!

Bunspiration

With the weather getting warmer, it’s time to get that hair up off your neck. So here are some inspiration buns and tutorials for the taking! Sick of the sock bun? Check out some of these different options…

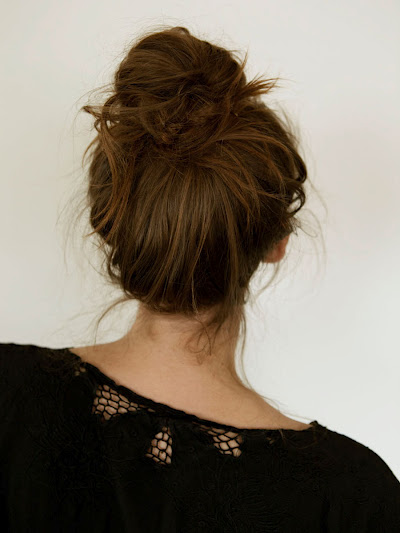
Here’s a great tutorial from Cup of Jo on How to get a Messy French Bun:

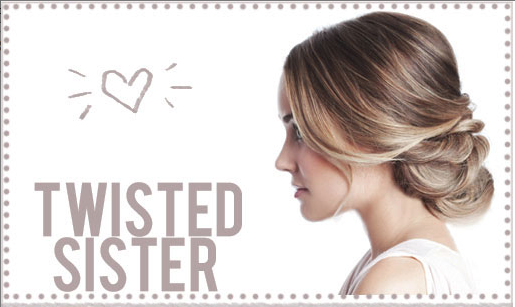
A classy, twisty low bun from The Beauty Department:

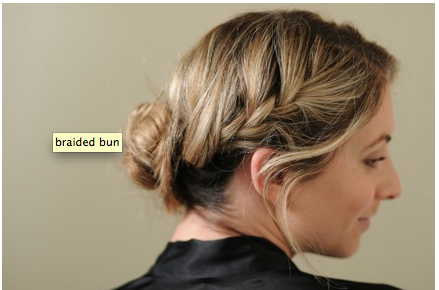
A Braided Bun Tutorial from The Paper Mama

More braided bun tutorials! (via Cupcakes and Cashmere)

Braided bunspiration!

(Also, here’s a tutorial for the upside braided bun, if you dare)

Spice up yo Bun!

Love the volume created with a double-headband!

Wrap a vintage scarf around your sock bun!

Feelin’ Swanky?

January at Chef’s: Bridal Tasting Extravaganza!

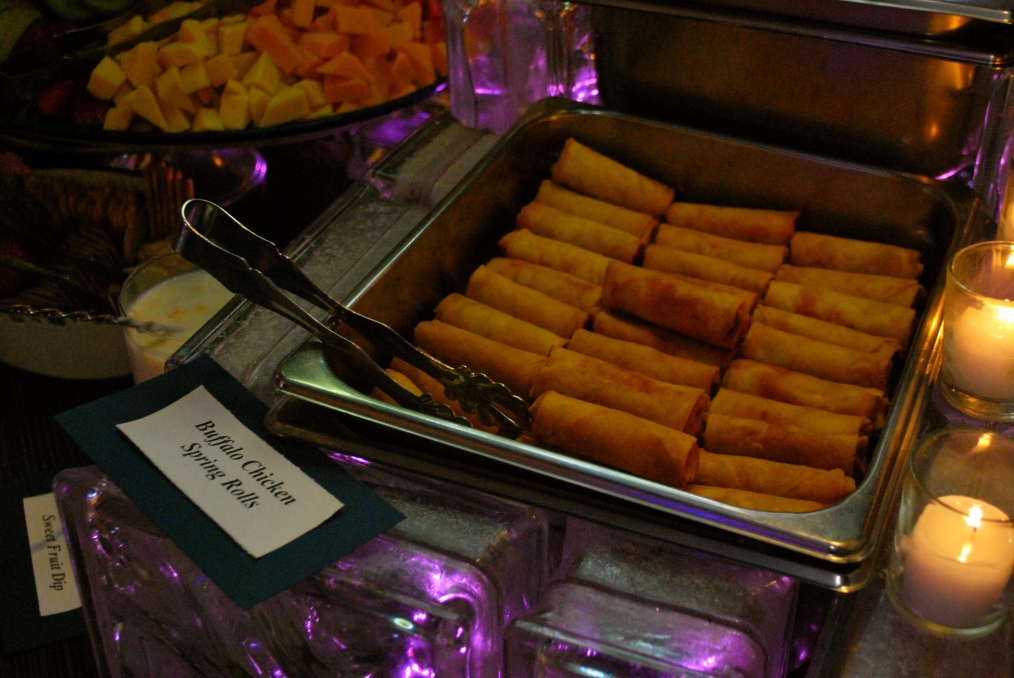
Last month at Chef’s Market, we had a bridal tasting for any and all brides wanting to learn more about how we do things here at Chef’s, giving them the opportunity to bring their mothers, fiances, and friends to sample some of what we can do for their wedding and get ideas for how they want their reception to be.

So, for one night, we transformed the front dining room at the restaurant into a swanky reception area.

We had so much fun watching all the happy couples get excited talking about their big day with our catering personnel and it was especially great to see some old family friends planning for their wedding and getting to hear all kinds of sweet engagement stories.

If only work could be a party every day!

Image

Image

Image

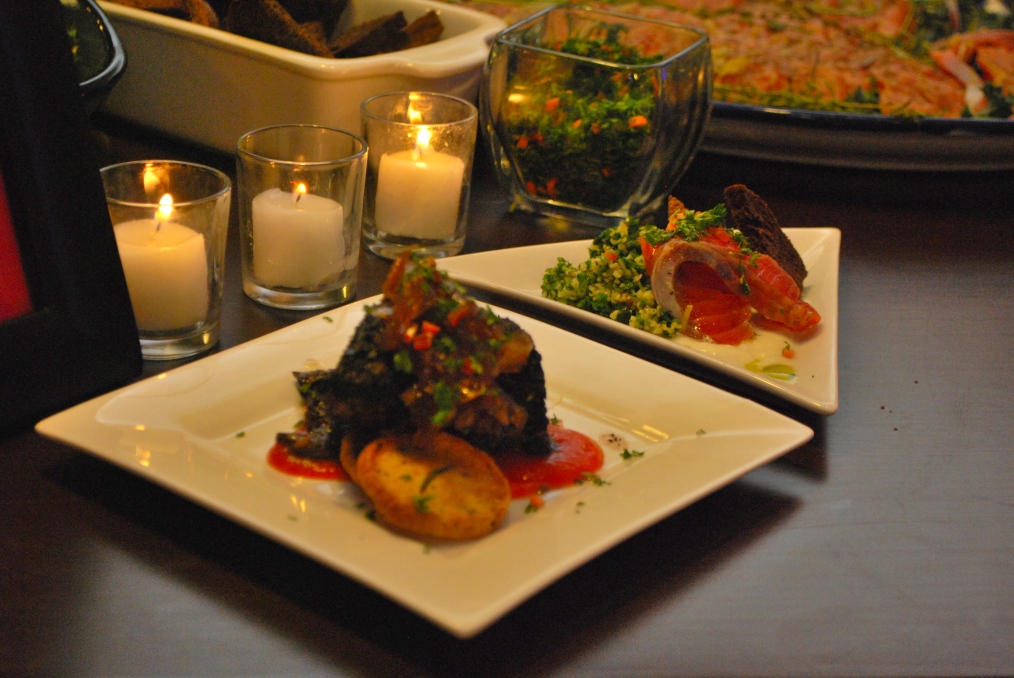
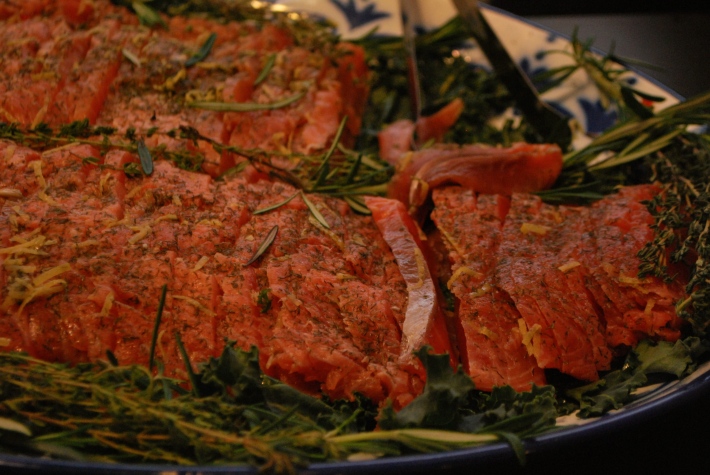
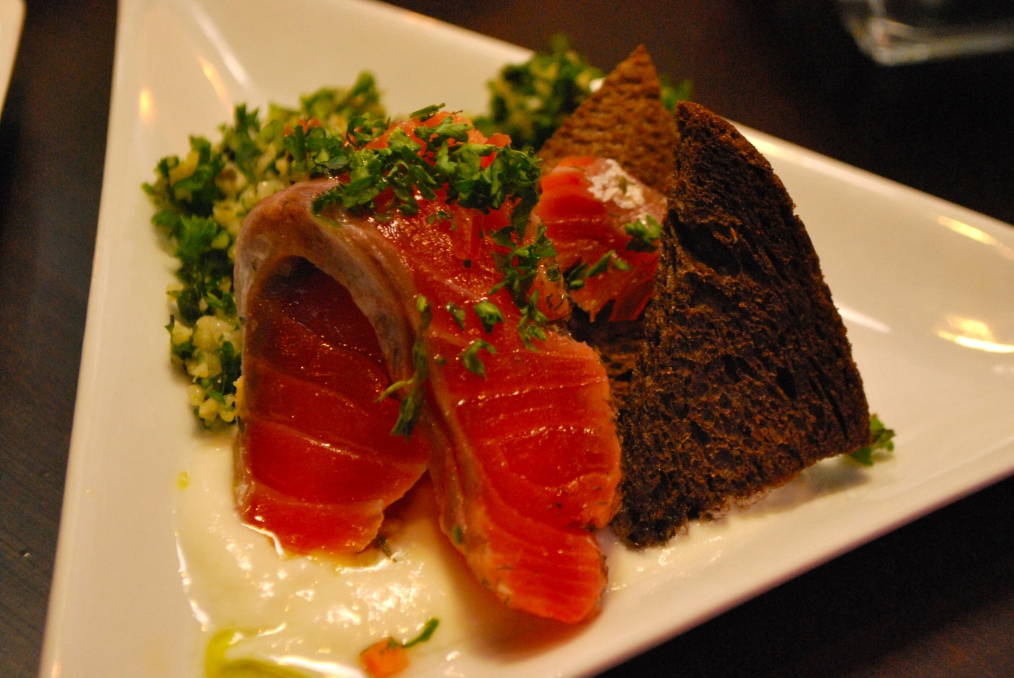
Sliced Salmon Filet served with cous cous and toasted rye

Image

Image

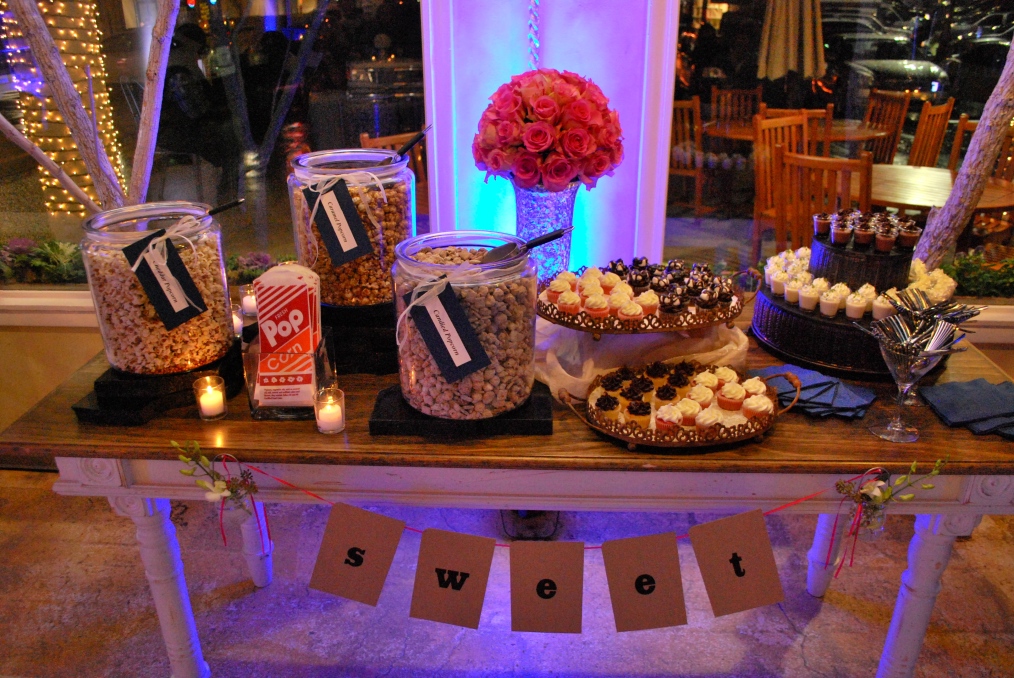
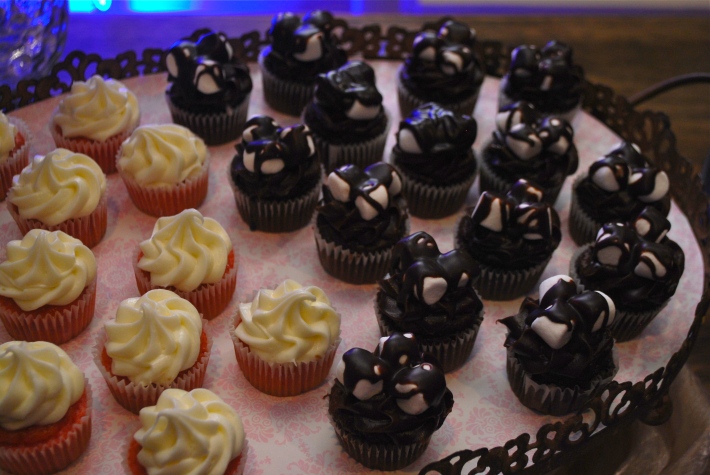
Strawberries & Cream (a Chef's signature) & Mississippi Mud Mini Cupcakes. The perfect bite-size treat

Image

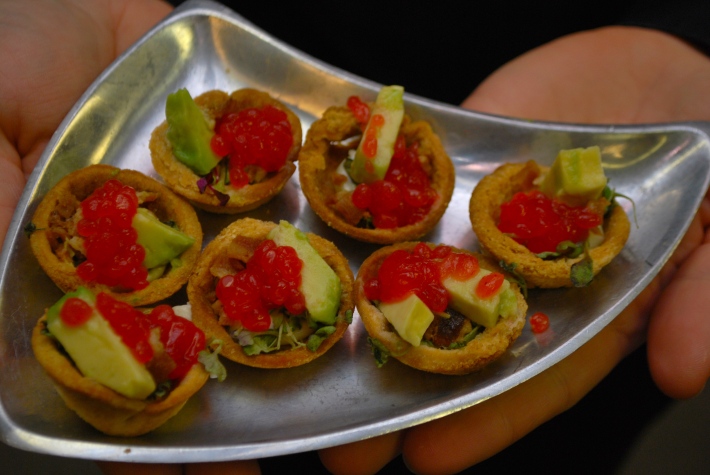
Mini "BLTs" with bacon, avacado and tomato caviar in a edible cup.

Image

NYFW Fall 2012: Black & Blue

Black and Blue…no, I’m not tasteless enough to be alluding to recent uproar over Chris Brown & Rhianna. I am, however, lame enough to be posting on trends seen at NYFW like everyone else out there on the blogosphere (note: I’m also lame enough to use “blogosphere”).
Not wanting to waste endless hours screen shopping (a term I’m coining for virtual window shopping) without pretending like I’m doing something productive, I’ve got a little series for you all of the best of NYFW, big trends, and how to wear them now, all on a sensible budget.

So, here’s my first installment…
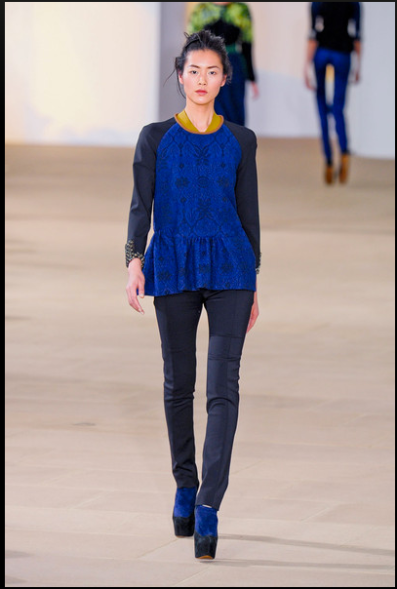
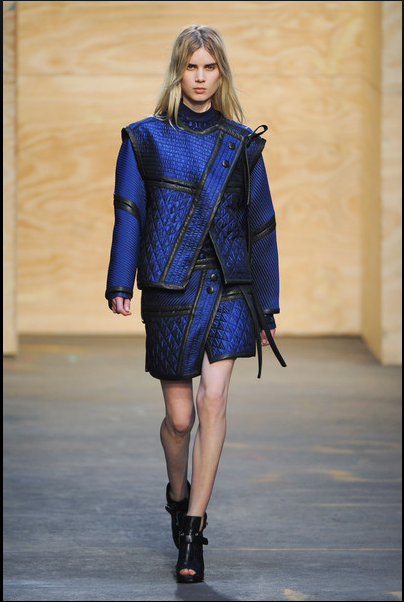
No doubt, black and blue have been done before, but for some reason this season’s execution doesn’t feel quite as mod-squad or poorly integrated as it has in the past.

ImagePreen, NYFW Fall 2012: Photo via Style Bistro
I’m really loving the minimalism and structure. Also, that mustard collar…
ohhh, yeah.

Proenza Schouler, NYFW Fall 2012: Photo via Style Bistro; A little bit less wearable, but I'm really digging the metallic blue with the black accents and little bit of Asian inspiration.

So, how do I wear this now without looking like a fool, you may ask…
(Just kidding, you would never look like a fool.)

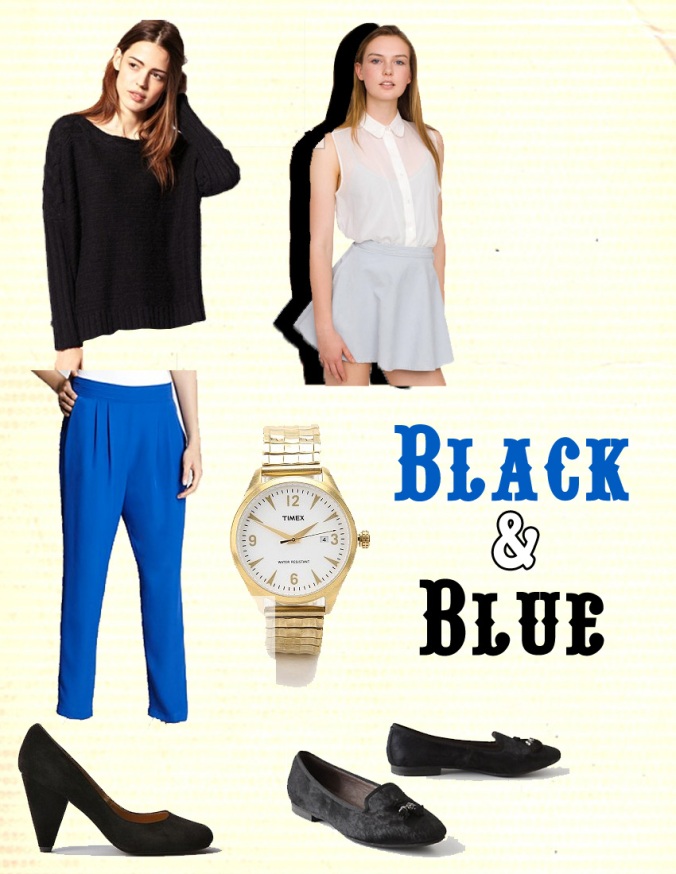
ASOS Sweater $71.62; American Apparel Sleeveless Button-Up $42; Bloomingdale’s Pants $88; UO Timex 50’s watch $110;  UO Suede Pump SALE $39; Anthro Pony Hair Loafers $98

I’m thinking pair the button-up underneath the sweater, but whatever floats your boat.
[SIDE NOTE: I don’t know why it never occurred to me before to wear a sleeveless button-up underneath a sweater instead of a long-sleeve, which would’ve saved me a lot of overheated days in a sweater and oxford.]

Now, I’ll admit that while these items are cheaper than what’s on the runway, they’re not necessarily CHEAP. But, I’m sure as you all can figure out, Black and Blue is super easy to do. If you don’t really want to invest in a pair of blue pants, Candie’s for Kohls has these skinny jeans on sale for $23 AND ASOS has these Cotton Twill Skinny Trousers for only $36.

Enjoy, tell me what you think, and come back tomorrow for more runway to street NYFW style!

Best of the Week 12/16

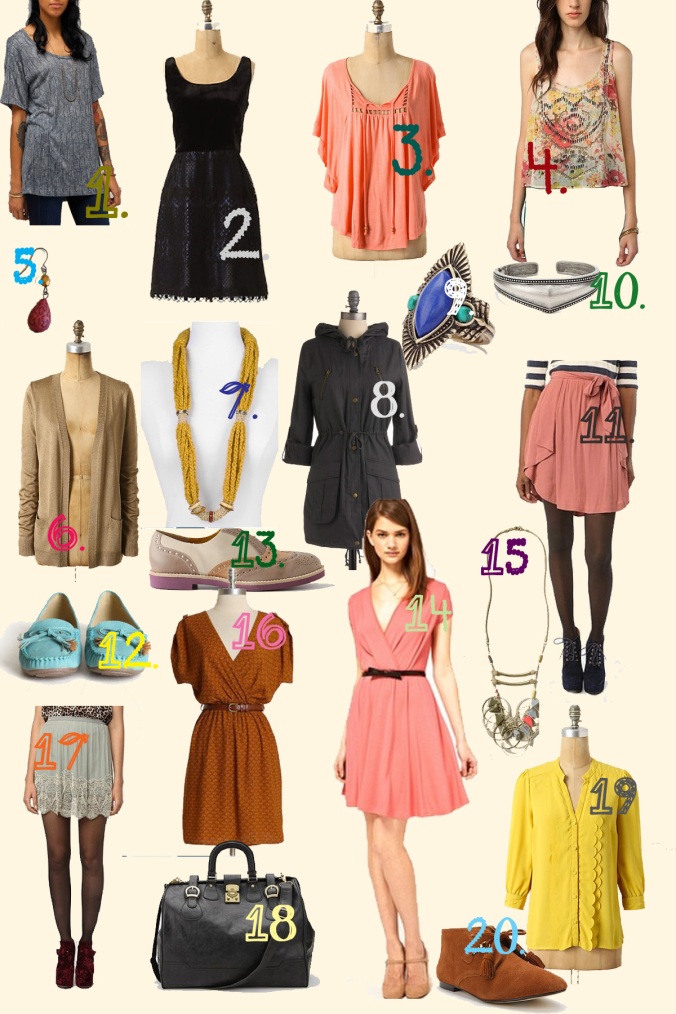
So, during the holiday season (or any season), I’m guilty of online window shopping wayyy too often. So much so that I just skip to the New Arrivals section because I’ve already seen everything else. So, I’ve put together a little run down of the best of the week in New Arrivals from all over the internet. See caption at the bottom for a linked list of all the items and a prices.


 1.  Tee $38; 2. Black Shift Dress $318; 3. Peasant Top $78; 4. Tank $59; 5. Earrings $18;  6. Cardi $188; 7.  8.  Jacket $83; 9. Ring  10. Cuff $30; 11. Drape Skirt $59; 12.  Mocassins $35; 13. Tan Oxfords $398; 14. Wrap Dress $45 15. Bib Necklace $42; 16.Rust Wrap Dress $43 17. Embroidered Mesh Skirt $99  18. Weekender Bag $80; 19. Buttondown $78; 20. Suede Ankle Boot $69

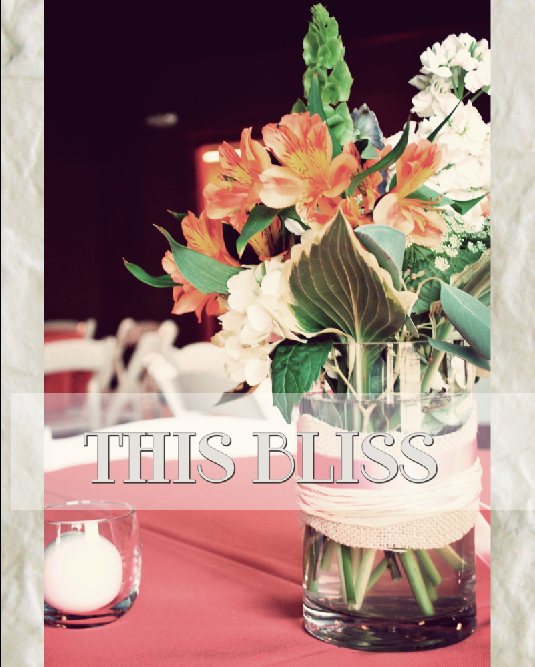
This Bliss Magazine

This Bliss is an online wedding magazine about social media tools and online resources for planners and brides as they prepare for their big day. Ashley, Julie and I created This Bliss Magazine for our final project in Social Media and Public Relations using issuu.com. We’re really excited to share it with everyone and hope you enjoy!
Check it out below and let us know what you think!

Check it out here:

Also, click the links here to check out Ashley and Julie’s great blogs:
Jules, rush in.
anfischer88